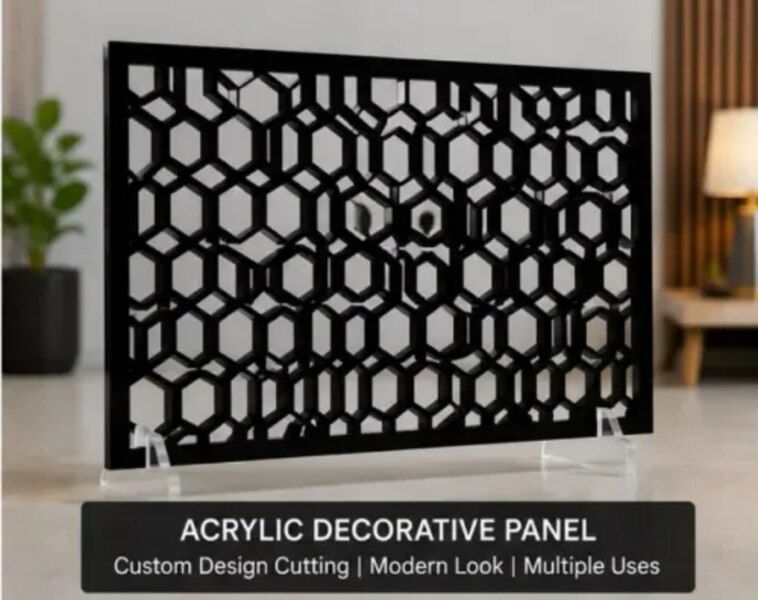
Remove loose grit before touching the surface, then use lukewarm water, mild detergent and a clean microfiber cloth to avoid turning road dust or kitchen grease into scratches. By the end, you will know how to clean openwork acrylic safely, identify damage, decide between polishing and replacement, and prepare the measurements needed for a reliable repair.
Key takeaways
- Remove loose grit before wiping acrylic to prevent fine scratches.
- Use a soft microfiber cloth and acrylic-safe cleaner on smooth panels.
- Avoid abrasive pads, ammonia and dry rubbing on patterned acrylic.
- Remake panels when cracks, deep scratches or loose layers compromise safety.
Prepare the panel before you wipe it
Before you wipe an acrylic decorative panel, remove loose grit and check what the panel is made from. Road dust, construction particles and kitchen grease accumulate faster in Noida; rubbing them across glossy black, mirror or transparent acrylic creates fine scratches instead of restoring the shine.
- Put on clean gloves to prevent fingerprints and grit transfer. If the panel must be removed, photograph its position and support the full sheet, not just one edge.
- Identify the finish: transparent, opal, coloured, mirror, printed, engraved, laminated or back-lit acrylic. A polish suitable for clear acrylic can damage a mirror coating or printed layer.
- Check for cracks, chipped corners, loose mounts, sharp drilled holes and overtightened clamps. Do not clean a panel that can shift or fall; stabilise it first.
- Remove ornaments, fittings and nearby objects that could drag dust onto the surface. Keep clips and screws in a labelled container if you are removing them.
- Lift loose dust with a clean air bulb or a very soft microfiber cloth held lightly. Do not dry-wipe visible grit.
For acrylic panel cleaning in Noida, inspect panels near roads, kitchens and construction areas more frequently. Check that mounts allow movement rather than clamping the sheet rigidly; acrylic expands about 3.5 mm over one metre during a 50°C temperature change, and restrained panels can crack during cleaning or refitting.
Use a safe cleaning method for smooth and patterned acrylic
For acrylic decorative panel maintenance in noida, use lukewarm water, a small amount of mild non-abrasive dishwashing solution and a clean microfiber cloth. This removes dust and fingerprints without dulling the face or leaving a detergent film.
- Blow loose dust away with a clean air bulb, or lift it gently with a very soft microfiber cloth. Do not rub dry grit across the surface; mineral particles can leave fine scratches, especially on glossy black, mirror and transparent acrylic.
- Mix a small amount of detergent into lukewarm water. Dip the cloth, wring it until damp, and wipe in straight, overlapping passes rather than pressing hard.
- For engraved grooves, patterned faces and openwork, use a folded corner of the cloth around the detail. Move lightly so fibres do not catch on cut edges or pack detergent into recesses.
- Rinse with a second microfiber cloth dampened with clean water. A separate rinse removes soap residue that would otherwise dry as streaks or a cloudy film.
- Blot the panel dry with a fresh microfiber cloth. Let water drain from cut-outs before reinstalling or closing the surrounding frame.
Keep paper towels, scouring pads, razor blades, powdered cleaners, ammonia-based glass cleaner, acetone, alcohol-heavy solvents and household window sprays away from the visible face unless the acrylic manufacturer approves them. Never flame-polish finished decoration to remove scratches: heat can round edges, distort thin sheet and alter engraved lines.
Match the cleaning method to the panel’s location and design
A kitchen-facing engraved panel needs grease removal without filling its grooves; a roadside panel needs grit control; an openwork panel needs careful edge cleaning. Match the method to both the exposure and the panel’s geometry, not just its visible dirt.
- Engraved panels: Blow away loose dust, then clean the face with a barely damp microfiber cloth. Wipe across the engraving rather than pressing residue into the grooves, and use a soft, narrow brush only where dried grease remains. Do not scrape the lines with a blade.
- Laser-cut panels: Clean the broad faces first, then wipe each cut edge with a folded microfiber corner. Keep the cloth from catching on sharp kerfs, and dry the edges so water does not carry dirt into the joints.
- Openwork panels: Use an air bulb or very soft brush to clear road dust and construction particles from holes and narrow bridges. Wash from the cleaner side outward; trapped cement grit becomes abrasive when rubbed.
- Kitchen-adjacent panels: Remove grease in several light passes with diluted mild dishwashing solution. Heavy pressure spreads oily grit and leaves a dull film.
For acrylic panel cleaning in Noida, increase the cleaning interval near roads, kitchens and active construction. During acrylic decorative panel maintenance in Noida, photograph any darkened groove, chipped edge or missing detail before polishing. Edge polishing cannot restore engraved artwork, and flame polishing can round cuts or distort thin sheet.
Identify the defect before choosing a repair
Start with a clean, dry inspection under angled light. Dirt sits on the surface and disappears after dust removal and washing; a defect remains in the same place. Do not polish until you know the panel is transparent, opal, coloured, mirror, printed, engraved, laminated or back-lit.
| Defect | What you see or feel | Repair implication |
|---|---|---|
| Dirt or residue | Dull film, spots, grease or grit that changes after cleaning | Clean again; do not abrade embedded particles |
| Scuff | Shallow whitish line or haze with no split; catches lightly under a fingernail | Polishing may work on clear, uncoated acrylic |
| Crazing | Fine branching cracks, often around holes, corners or stressed edges | Stop rubbing and solvent use; replacement is safer |
| Yellowing | Overall amber tint rather than local surface marks | Treat as ageing or UV damage; polishing will not restore clear colour |
| Heat damage | Warped edge, bubbles, melted texture or a glossy depression near a light or heat source | Replace the affected section and correct the heat source |
| Solvent damage | Hazy patches, softened surface or delayed branching cracks after adhesive or cleaner use | Do not apply more solvent; test compatibility before any repair |
| Structural damage | Through-crack, chipped fixing hole, loose fragment, bowing or movement under light pressure | Remove and replace or remake; surface polishing cannot restore strength |
A scratch that polishes from clear acrylic can permanently destroy a mirror coating, printed layer or engraving. For damaged acrylic decor panel repair in Noida, record the sheet type and thickness before selecting solvent cement; it suits only clean, closely fitting, compatible acrylic parts.
Support the full panel during handling. Laser Job Services can use your recorded dimensions, hole locations and artwork when a structurally damaged panel needs remaking rather than repeatedly repaired.
Related products
 | Laser Engraved Acrylic Laser Job Services is a manufacturer of precision laser-cut acrylic products, offering customised decorative panels for interiors, partitions,... View product → |
 | Laser Engraved Acrylic Laser Job Services is a manufacturer of precision laser-cut acrylic and MDF products, offering customised solutions for interior décor, partitions,... View product → |
Remove, document and remake panels that cannot be safely repaired
A crack, chipped corner, warped sheet or deep solvent mark usually calls for removal and assessment, not more polishing. Filling a missing section with polish will not restore strength, alignment or a printed, engraved or mirrored finish.
1. Photograph the damage in place, including the full panel, close-ups, mounting points and nearby panels. Record height, width, thickness, hole positions, artwork alignment, lighting position and the material type: transparent, opal, coloured, mirror, printed, engraved, laminated or back-lit.
2. Isolate the panel and remove fixings without forcing it. Wear clean gloves and support the full sheet during removal; a hanging corner can extend a crack through otherwise sound acrylic.
3. Ask a fabricator to mark the boundary between damaged and sound material. A local repair works only when the affected area can be cut back cleanly and the join will not cross a prominent engraved or printed region. Otherwise, remake the complete panel.
4. Match the replacement for thickness, colour, translucency, surface finish, artwork, cut-outs and edge treatment. For a laser-cut or engraved panel, supply the original drawing and specify whether the brief covers face cleaning, edge restoration, structural repair or artwork recreation.
5. Dry-fit the replacement before final fixing. Check kerf, hole alignment and illumination, then use full-area support, clearance around holes and evenly tightened fixings; overtightened clamps and screw point loads can create the next crack.
This process is the practical basis for damaged acrylic decor panel repair in Noida and for selecting acrylic for decorative panel repair in Noida when a safe remake is better than a visible patch.
Frequently asked questions
How should you prepare an acrylic decorative panel before cleaning?
Remove loose grit first, then inspect the panel material, finish, edges, fixings and existing scratches or cracks before wiping.
What is the safest way to clean smooth and patterned acrylic?
Use a soft microfiber cloth with clean water or an acrylic-safe cleaner. Avoid abrasive pads, paper towels, ammonia-based products and dry rubbing.
How does a panel’s location affect its cleaning method?
Match the method to the panel’s exposure: remove grease from kitchen panels, road dust from exterior panels and trapped dust from patterned or layered designs.
When should you repair or remake a damaged acrylic decor panel?
Repair light surface marks when the sheet remains secure. Remove and document the panel for remaking when it has deep scratches, cracks, broken fixings or delamination.
Keywords